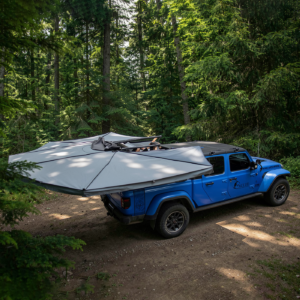
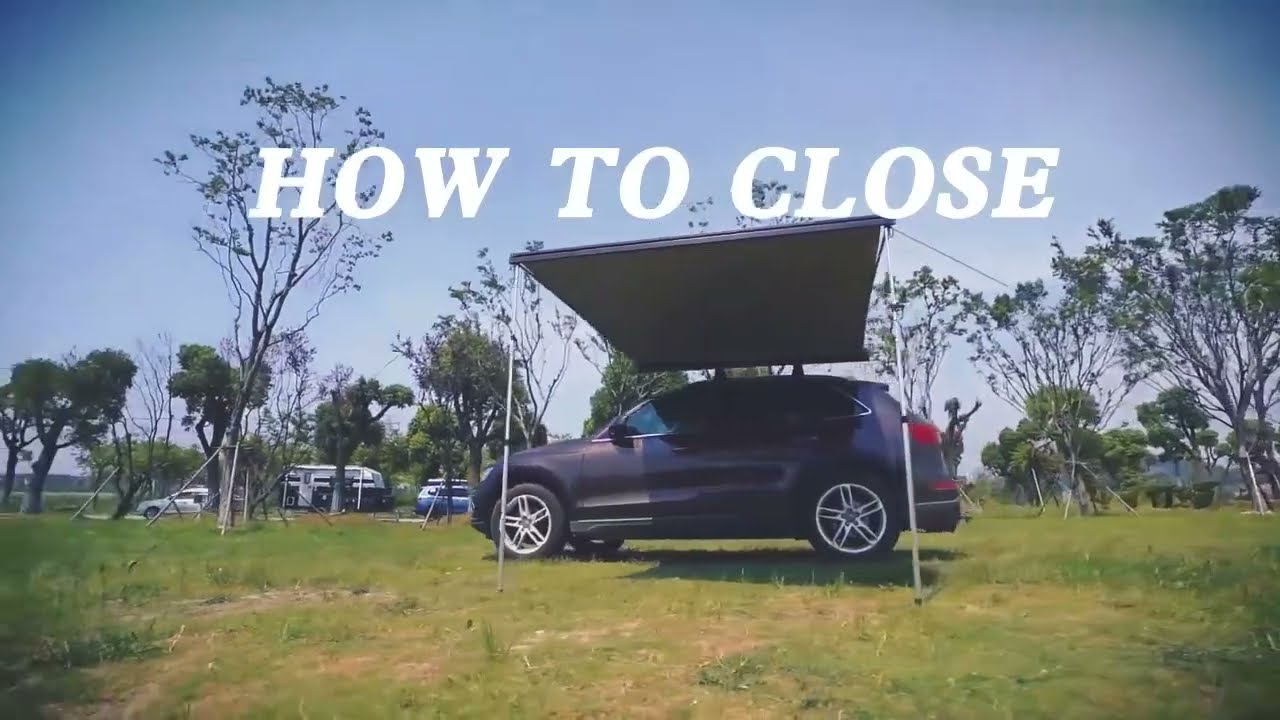
Knowing how to guy out an awning is what separates a shelter from a liability. An awning is a sail: at 20 km/h it is a gentle flap; at 40 km/h it is a lever bolted to your roof rack; at 60 km/h it is a structural test of your vehicle’s roof. The fix is not a heavier awning — it is three anchor points and a 15-degree leg angle. This is the routine we use on test trips.
Every year the same failure appears in warranty photos: a bent arm, a torn fabric corner, two pegs pulled out of the ground. In almost every case the awning was pegged at four corners, legs vertical, with no storm line — which looks secure and is the least stable configuration possible.
How to guy out an awning: the loads come first
| Wind speed | What it feels like | Load on a 6 m² awning | Action |
|---|---|---|---|
| 0–15 km/h | Leaves barely move | Under 30 kg lift | Normal anchoring |
| 15–25 km/h | Small branches move | 30–80 kg | All legs pegged, one storm line |
| 25–40 km/h | Dust and loose paper lift | 80–200 kg | Storm lines on both outer corners, lower the awning |
| 40–55 km/h | Whole trees sway | 200–350 kg | Roll it up. Do not leave it deployed |
| 55+ km/h | Hard to walk | Beyond design load | Roll it up and move to shelter |
Those loads are approximate and depend on the awning’s angle to the wind, but the conclusion is not approximate: a 6 m² awning in 40 km/h wind sees more force than the vehicle’s roof is rated to hold dynamically. Pegs will not save it. Rolling it up will.
The three-point anchor system
The most stable configuration for any awning is three points of ground contact, not four. Four pegs pull against each other and leave the centre unsupported; three create a triangulated structure.
- Two outer legs, both pegged at the foot, with a guy line from the top of each leg running out and forward at roughly 45° to the ground.
- One storm line from the centre of the awning’s outer edge, running to a peg 2–3 m out, at 45°. This is the line that stops the awning from inverting.
- Leg angle: each leg should lean inward 15–20°, so the foot sits closer to the vehicle than the top. A vertical leg transmits wind load straight into the arm hinge; an angled leg puts it into the ground.
If your awning has four legs (270° models), peg the two outer legs and the rear leg, then add a storm line from the corner that faces the prevailing wind. Do not assume more legs means more stable — it means more load paths that each need to be tight.
Pegs and lines, by ground type
| Ground | Peg | Notes |
|---|---|---|
| Hard packed dirt / gravel | 20 cm steel V-peg, 8 mm | Drive at 45° away from the awning, not vertically |
| Soft soil / grass | 25 cm Y-beam aluminium | Two per corner if the soil is loose |
| Sand | 40 cm screw-in sand peg, or deadman anchor | Bury a bag or a spare wheel as a deadman if pegs will not hold |
| Rock | Slings around boulders, or bolt anchors | Never rely on a peg wedged under a rock |
For storm lines, use a 25 mm polyester ratchet strap rather than rope. A ratchet strap holds tension without stretch, does not loosen in wind, and can be tensioned by one person in five seconds. Rope stretches when wet and needs knots that most people tie inconsistently.
Set the drainage angle first
Before you tension anything, set the outer edge 100–150 mm lower than the vehicle edge. This does two things: it sheds water, and it lowers the leading edge into cleaner airflow, which reduces the lift force.
On a long awning, drop one corner an extra 50 mm so water cannot travel sideways and pool at the low end. A single 20-litre pool weighs 20 kg and sits exactly where the fabric is least supported.
The 60-second check before you walk away
- Push up hard on the centre of the outer edge. It should deflect and spring back, not wobble the arms.
- Check every peg: it should be buried to at least two-thirds of its length.
- Look along the fabric — no flapping edges with more than 50 mm of free movement.
- Confirm the storm line is tight enough to hum when plucked, not guitar-string tight.
- If rain is forecast, confirm the low corner is genuinely the low corner.
When to roll it up — and how
Roll it up before the wind arrives, not during. The signs to act on:
- Forecast gusts above 40 km/h within the next few hours.
- Fabric starting to drum or snap rather than flap.
- Pegs lifting slightly out of the ground.
- You are leaving camp for more than an hour.
To roll up in wind: release the storm line last, not first. Fold the legs in sequence from the downwind end. If the awning is wet, roll it loosely and dry it fully within 24 hours — a wet awning stored rolled for a week grows mould along the fold lines, which is not covered by any reasonable warranty claim.
Repairing after a gust
If an arm bends, do not force it back into shape on the vehicle. Remove the awning, straighten the arm on a flat surface with a soft mallet, and check the hinge rivets — a bent arm almost always means a stretched rivet. Replace the rivet or the arm section before redeploying.
Fabric that has torn at a corner can be patched with a self-adhesive canvas patch on both sides, but a tear at a mounting eyelet needs re-stitching with a heavy-duty machine. Our awning range is designed with replaceable arm sections for exactly this reason.
Related guides: 180 vs 270 awning · Canvas care and mould prevention